
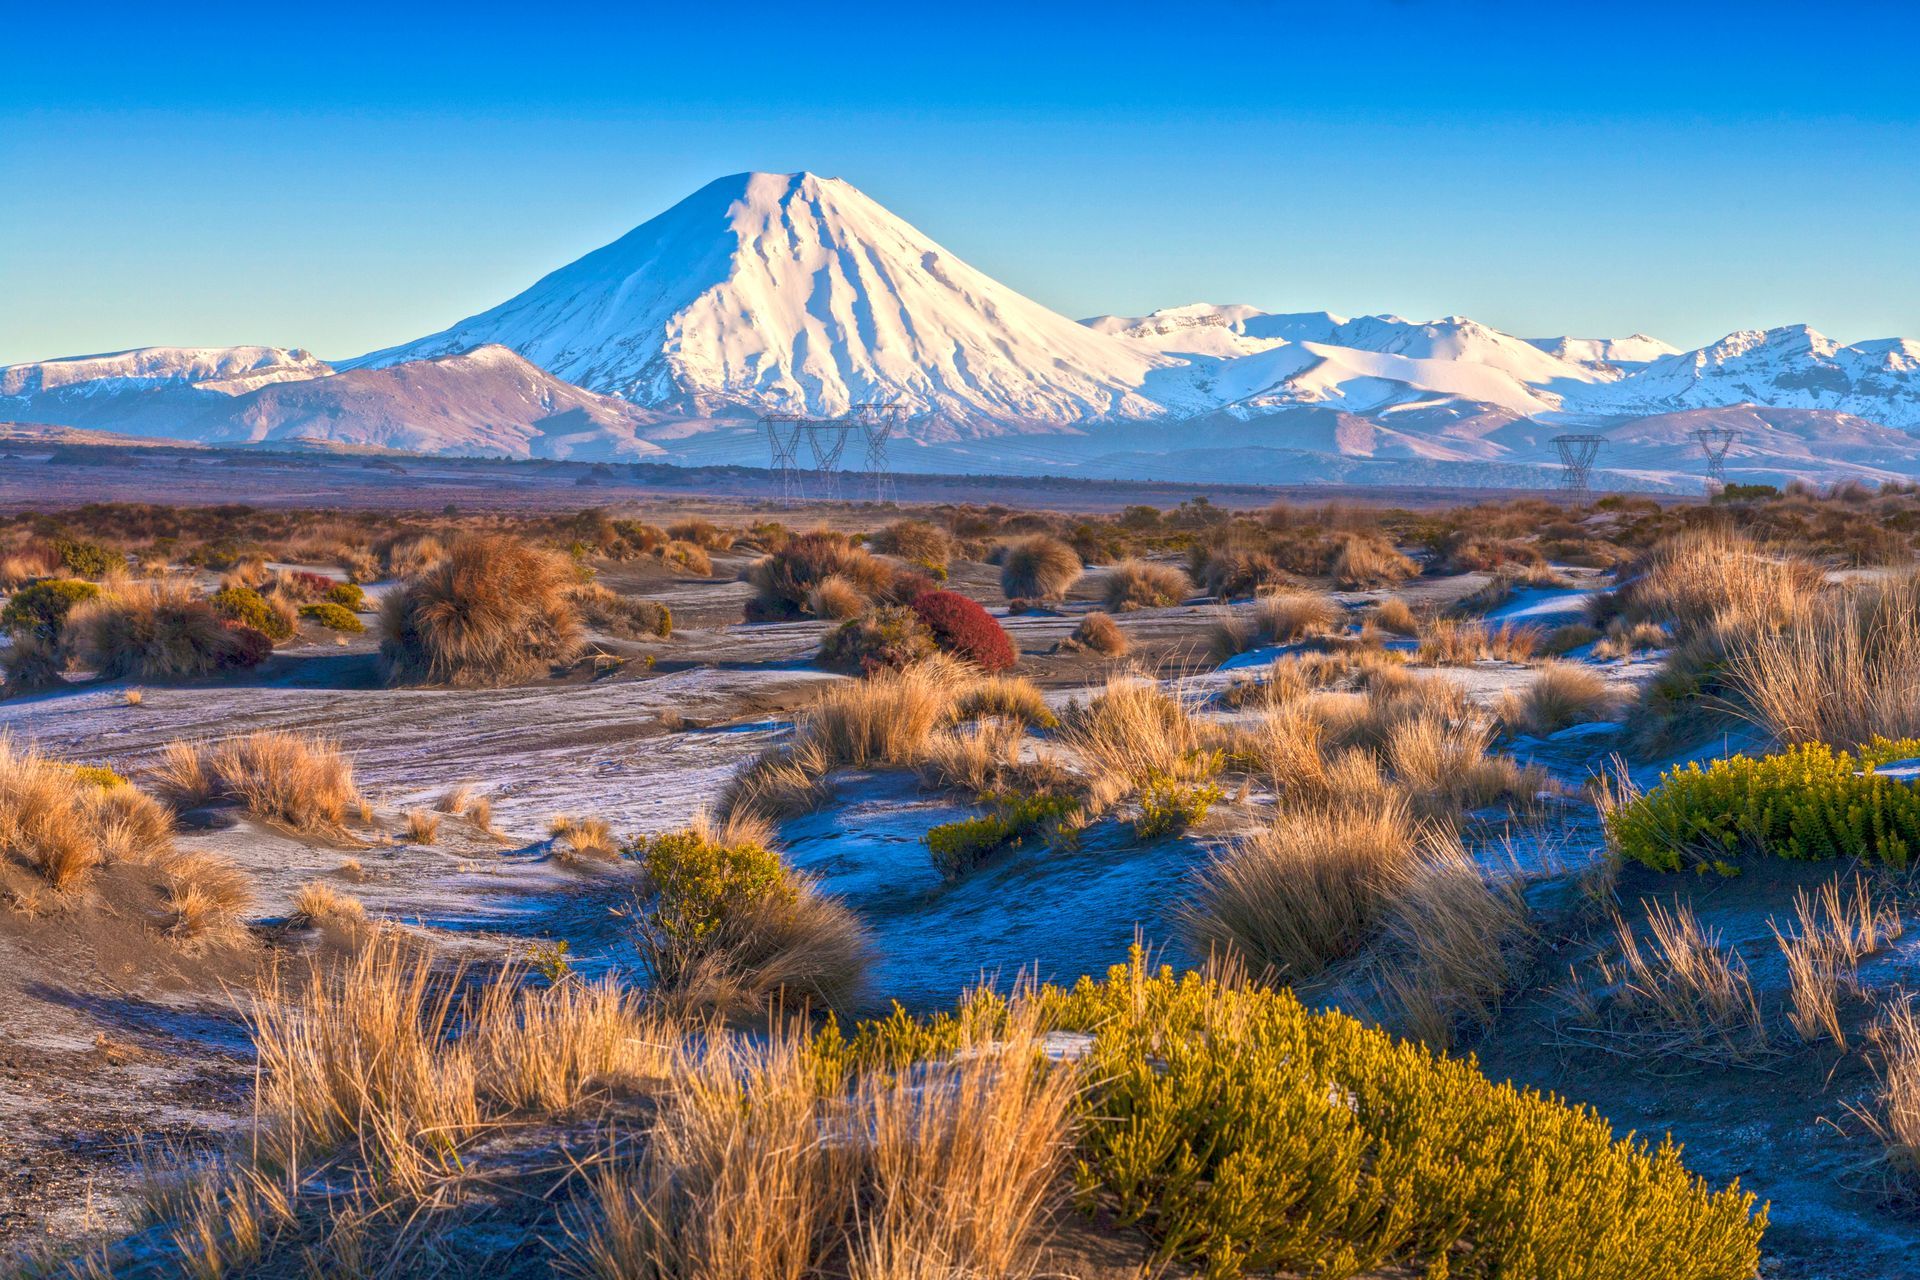
Tongariro Alpine Crossing Track Breakdown: A Complete Guide
The Tongariro Alpine Crossing track is often named one of the world's best single-day hikes, and for a very good reason.
The Mars-like terrain, the vivid crater lakes and the views that reach out to Lake Taupō and beyond, make for a hike that will leave you amazed!
To ensure you know exactly what you're in for, this comprehensive track breakdown will explain what to expect at each key stage of this epic journey, so you can be thoroughly prepared!
What is the Tongariro Crossing Track?
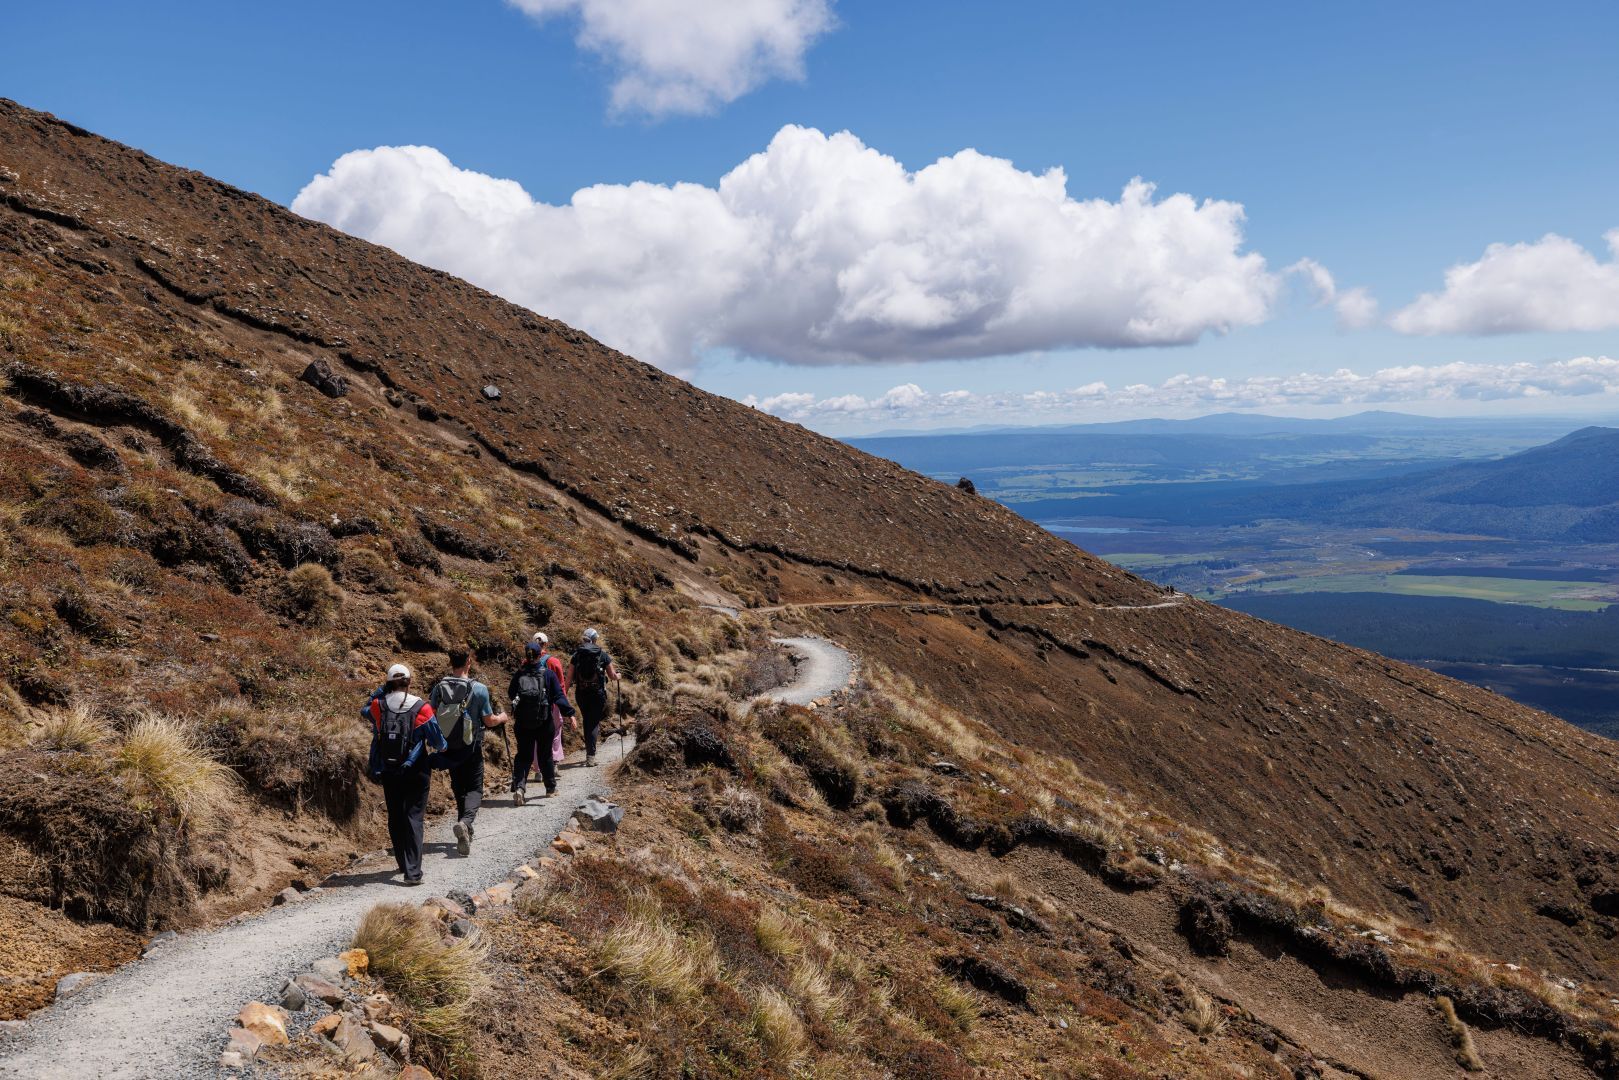
The Tongariro Alpine Crossing is a challenging 20.2km one-way trek that takes 6-8 hours to complete. The track passes over the volcanic terrain of the multi-cratered active volcano Mount Tongariro, passing the base of Mount Ngauruhoe.
The crossing is walked from Mangatepopo (1,120m altitude) to Ketetahi (760m altitude), meaning you start up higher in the first half of the trail, before hitting peak elevation and heading downhill for the latter part of the hike.
The track involves approximately 1196 meters of elevation change, with steep climbs, rocky descents, and diverse landscapes.

Stage 1: Mangatepopo Valley (Start to Soda Springs)
Distance: 4.5km
Time: 1.25 hours
Your journey begins at the Mangatepopo Road end, where your
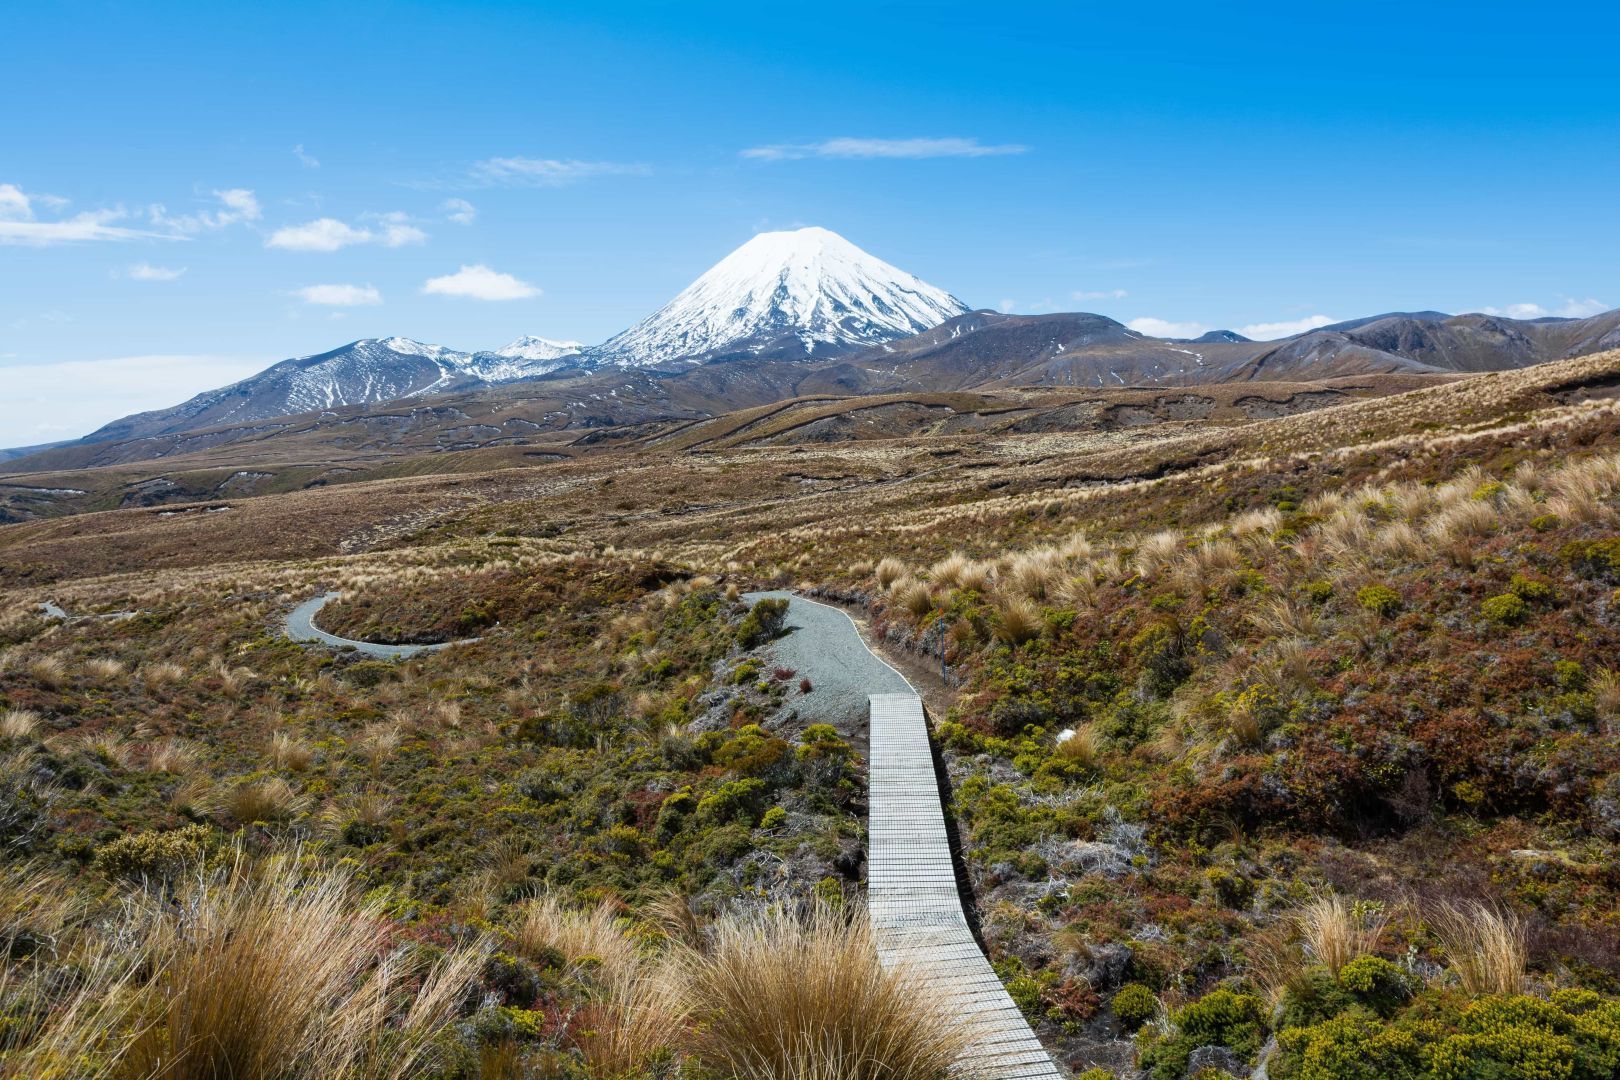
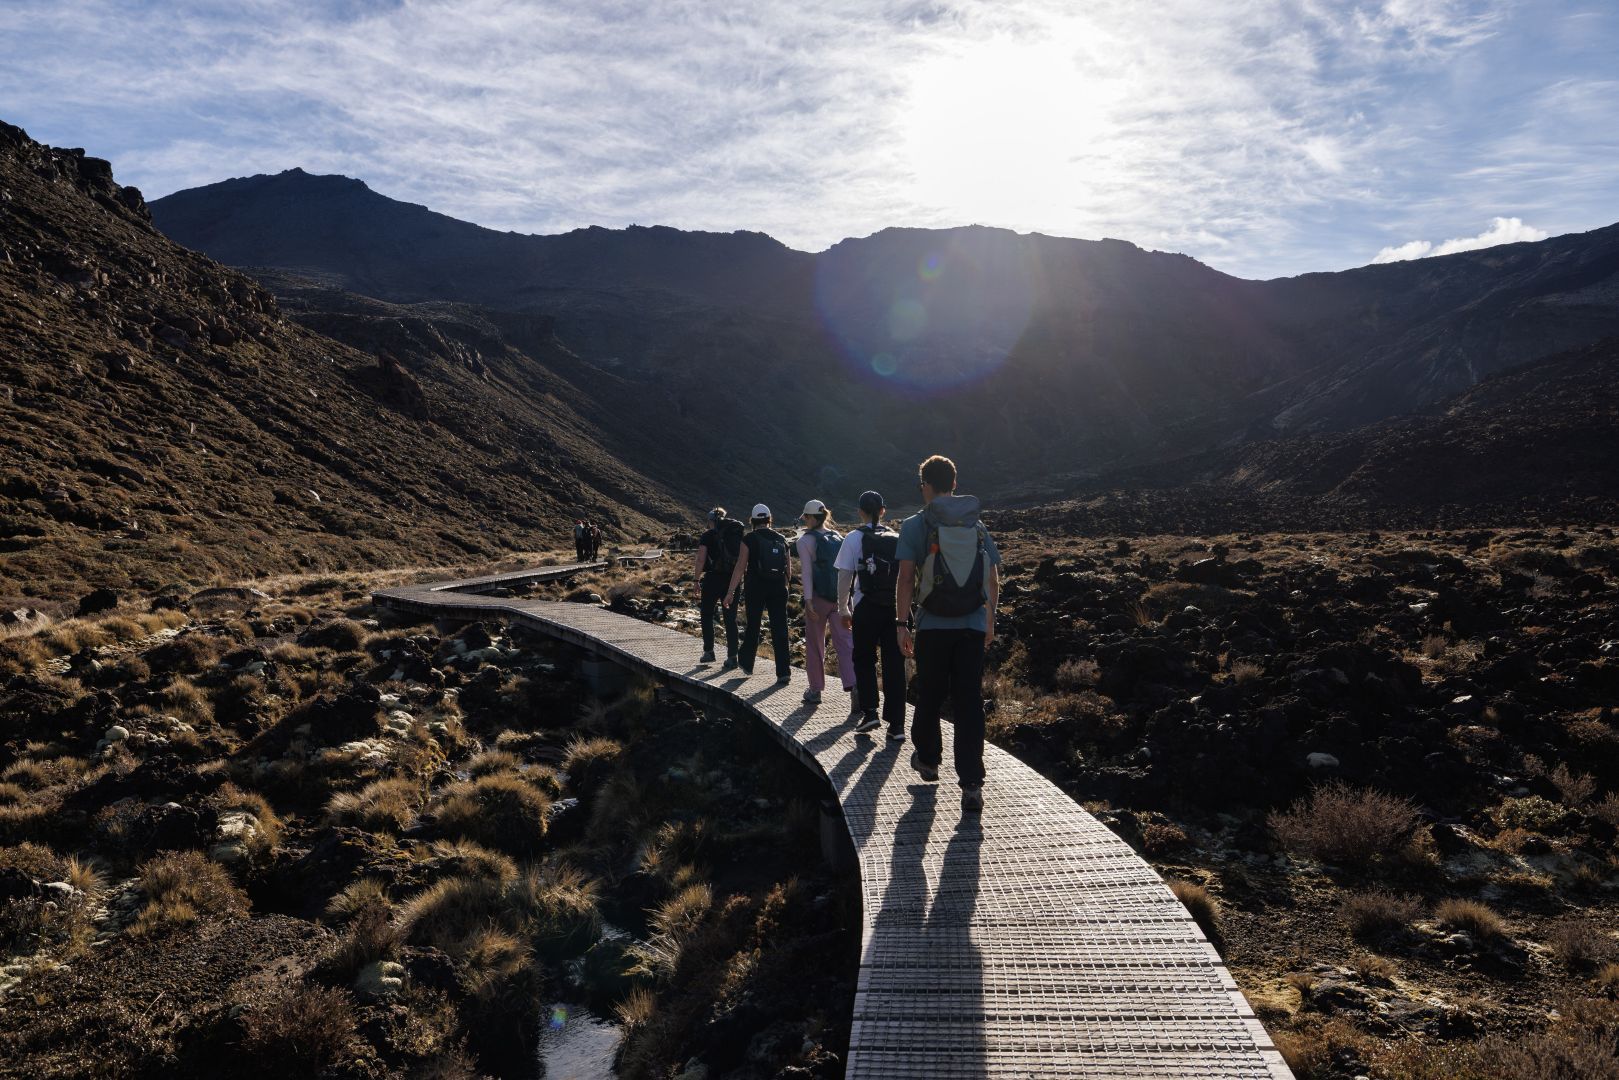
Tongariro shuttle will drop you off. The first section is fairly flat and well-maintained, with a boardwalk in damp areas. This gentle start eases you in, warming up your legs while you get an up close and personal look at the alpine vegetation of the valley.
What to expect in Mangatepopo Valley:
- Marker poles line the track, and about 15 minutes from the start, the track to Whakapapa Village branches off to the right – stick to the main track and do not turn off here. Follow the signposts and your map.
- Five minutes later, a side track leads to Mangatepopo Hut and public toilet facilities.
- Ancient lava flows line the valley floor, showing a glimpse into an eventful past, and the landscape becomes increasingly barren as you start to climb.
- Soda Springs marks the end of easy walking and the last toilet facilities before the South Crater.
Insider tip: The Soda Springs area is the "calm before the storm." This is your last chance to adjust your pack and layers before the serious climbing begins. Use the facilities here!

Stage 2: The Devil's Staircase (Soda Springs to South Crater)
Distance: 2km
Time: 1 hour
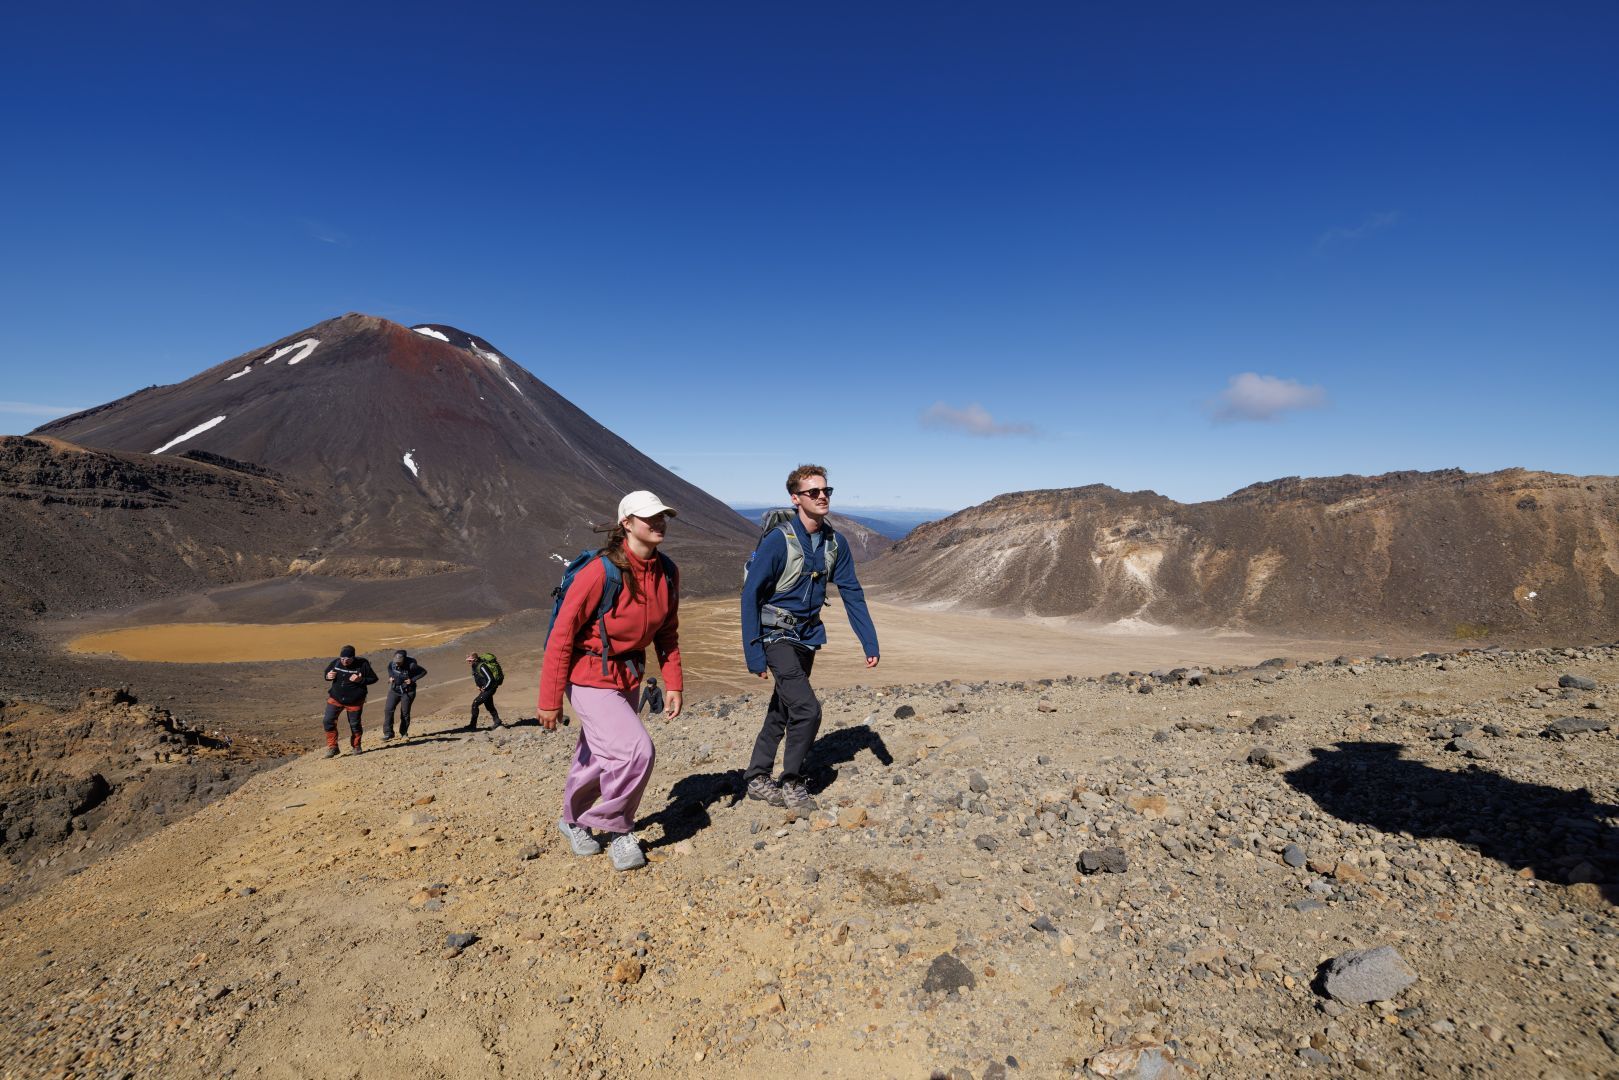
This is where the Tongariro Alpine Crossing track earns its reputation. The track increases in difficulty with a steady, sharp climb of approximately 350 meters up a rocky staircase to the South Crater.
What to expect at Devil's Staircase:
- An intense incline up a well-formed track and staircase through rock terrain uphill - it's quite the test of fitness.
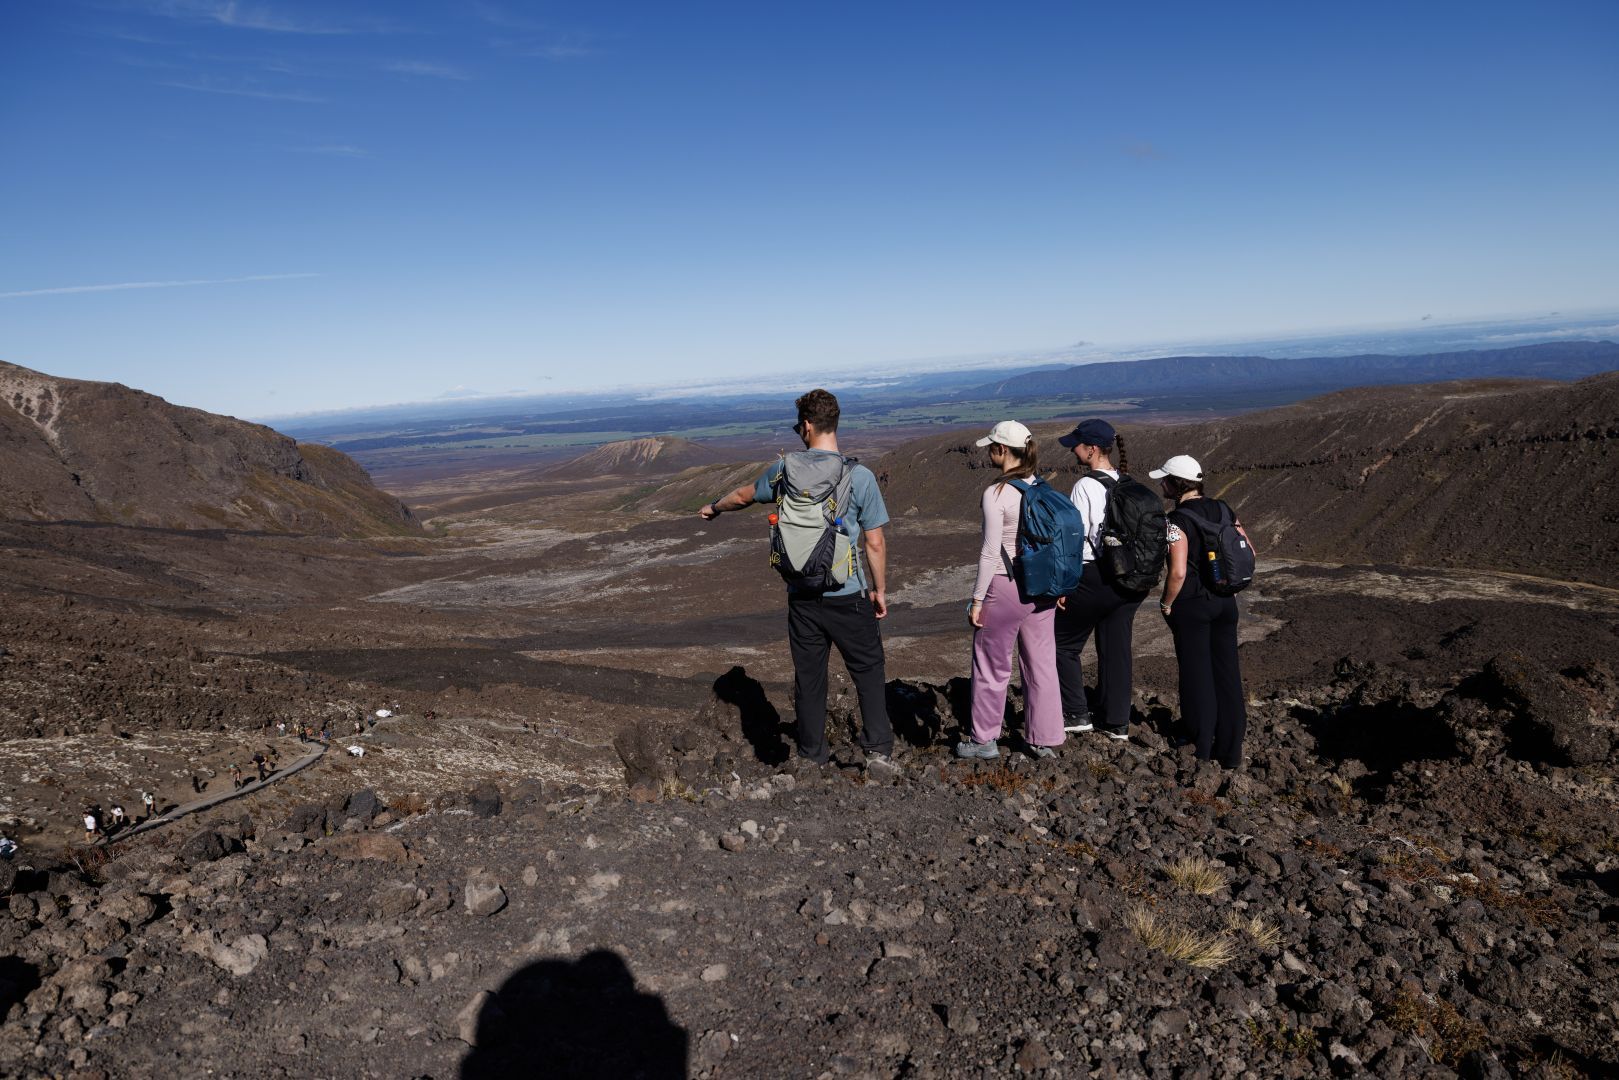
- On clear days, you may catch views down the valley and across to the perfectly formed volcanic cone of Mount Taranaki in the distance.
- Dramatic elevation gain that will test your physical and mental stamina, and the increasingly exposed terrain has less shelter from the wind.
Insider tip: Take regular, short 15-second breaks, pace yourself, and don't feel pressured by faster hikers - step aside where it's safe to do so. The views are worth stopping for, and there's no prize for speed on this track.

Stage 3: South Crater to Red Crater
Distance:
2km
Time: 45 minutes
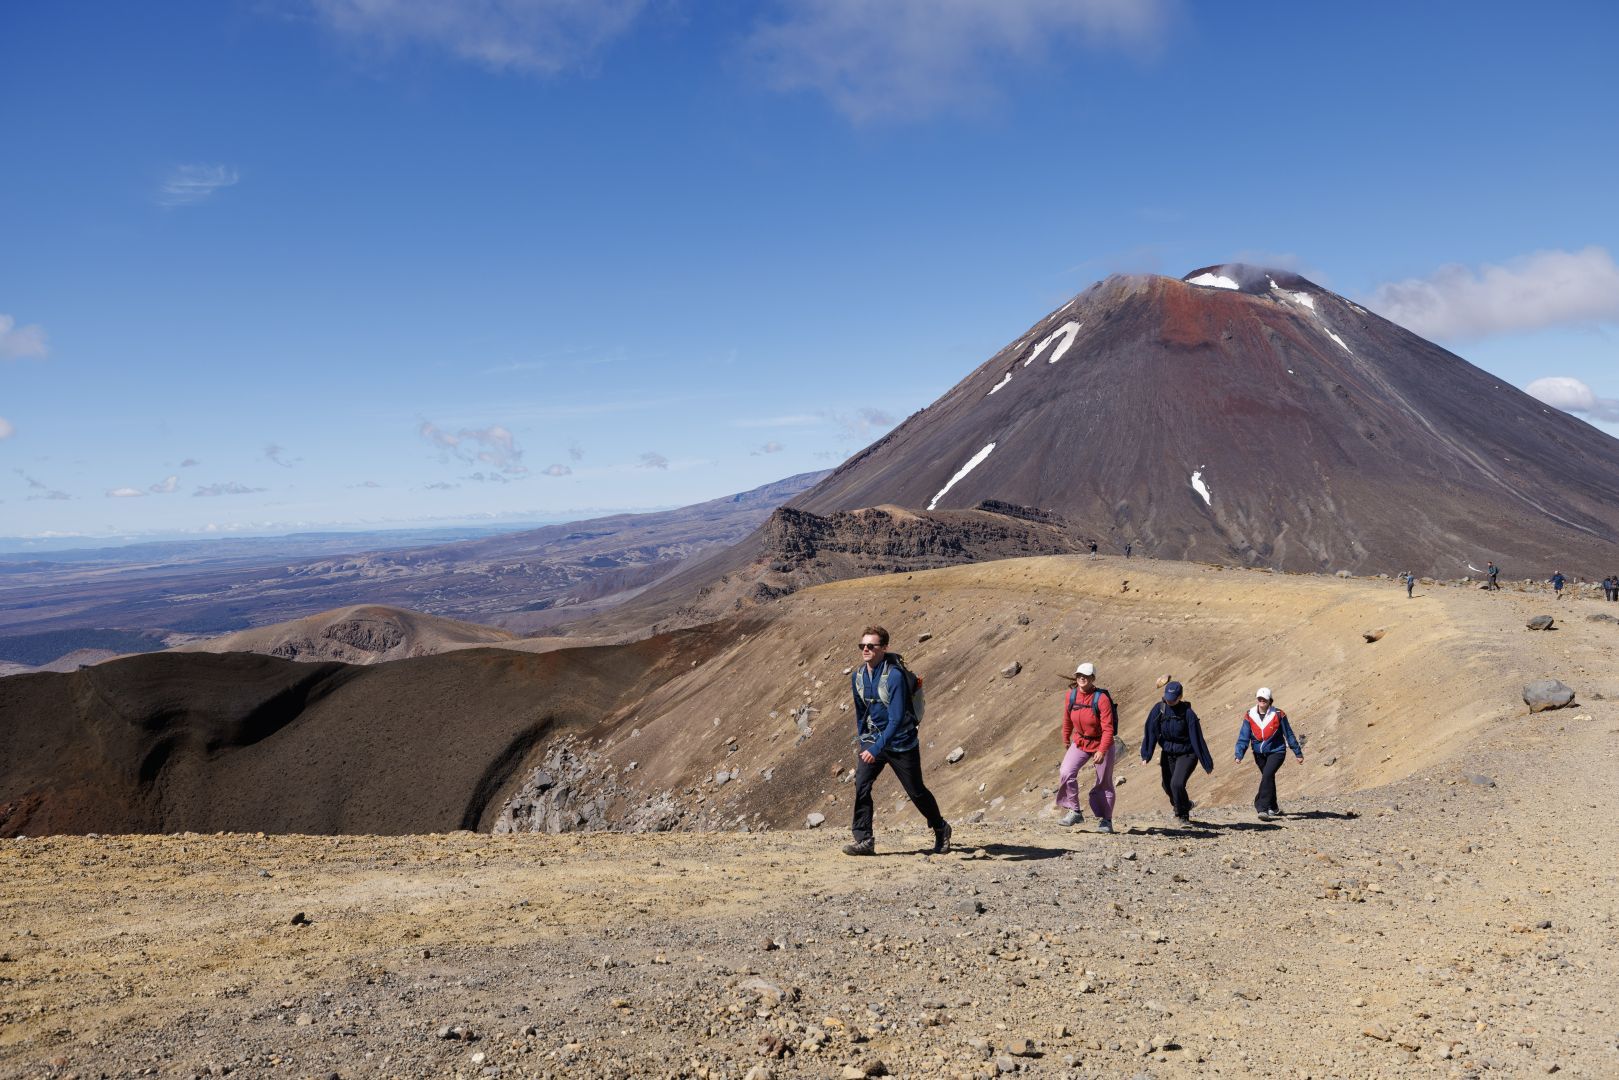
After catching your breath after completing the aptly-named Devil's Staircase, you're rewarded with the surreal, flat moonscape of South Crater. Before too long, there's another challenging climb on an exposed, loose gravel ridge to Red Crater, the highest point of the crossing at 1,886 meters.
What to expect crossing South Crater and climbing to Red Crater:
- A relatively flat stretch through South Crater's barren expanse - it feels like walking on another planet!
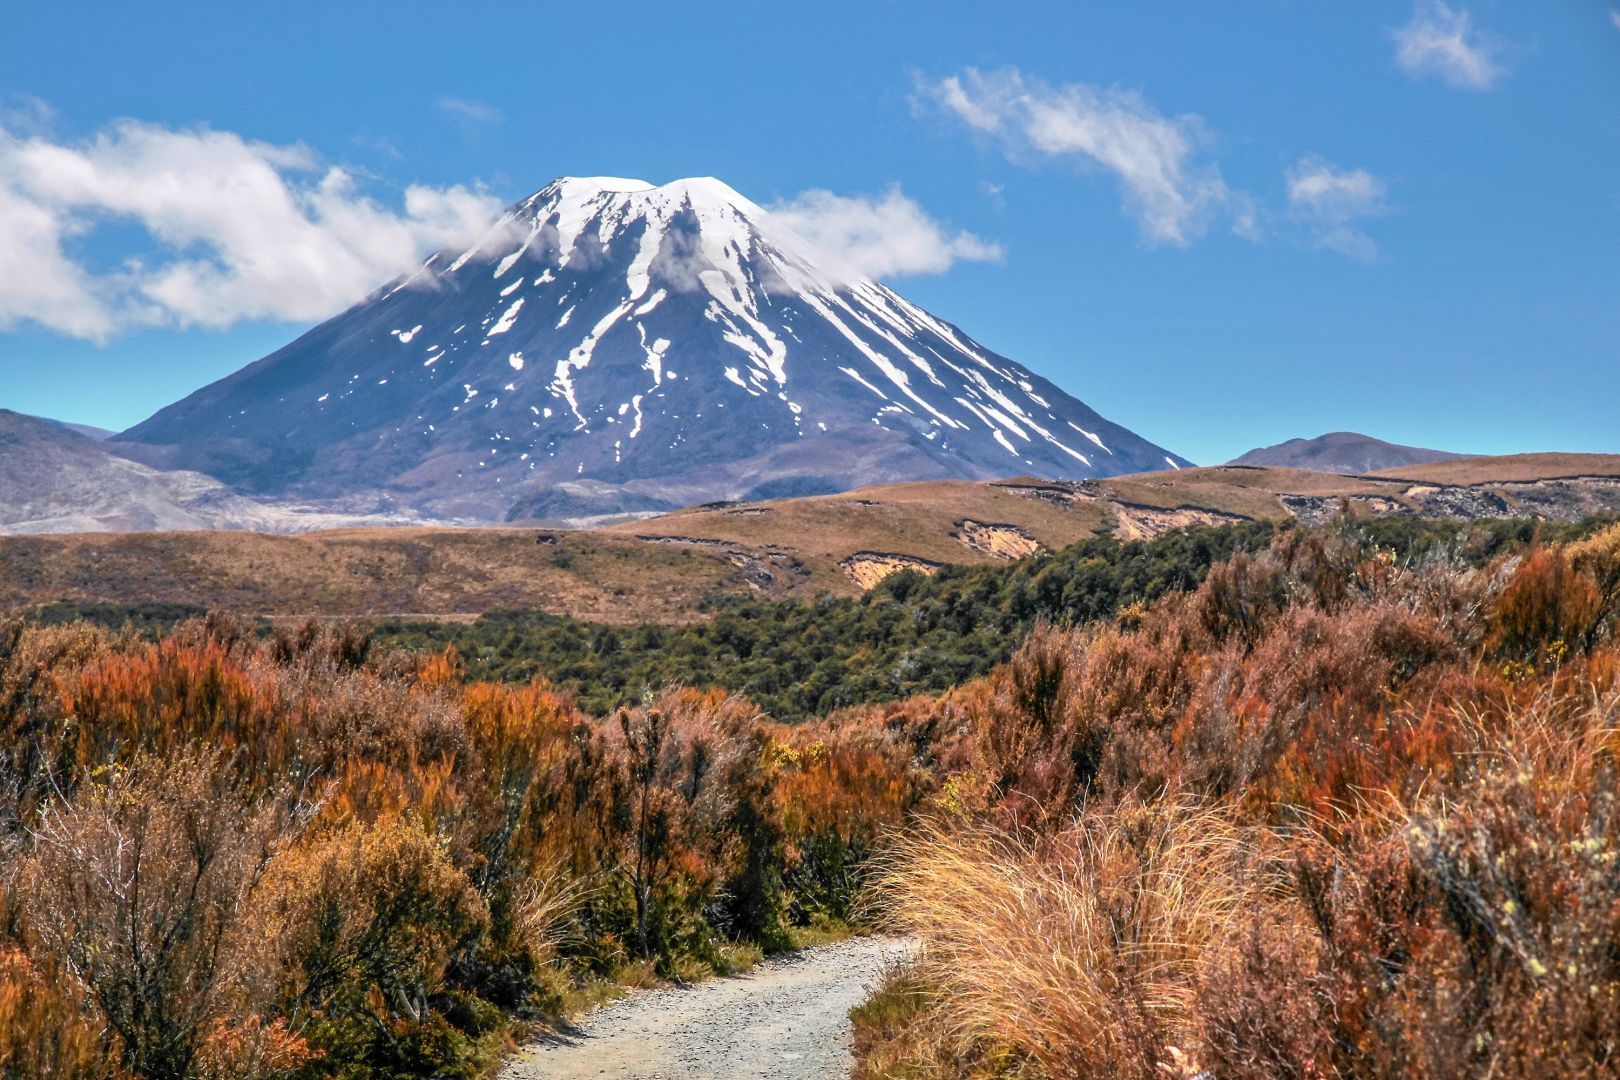
- Mount Ngauruhoe (Lord of the Rings' Mount Doom) towers dramatically to your right.
- The final ascent to Red Crater is the steepest and most exposed section of the entire track, with loose, unstable gravel underfoot.
- Spectacular views over the Oturere Valley, Rangipo Desert, Kaimanawa Ranges, and down toward the Emerald Lakes.
- Keep an eye out for the vivid red and brown volcanic rocks showing iron oxidation.
Insider tip: Hold onto your hat and secure loose items - this ridge can experience some of the strongest winds on the entire crossing, as South Crater is completely exposed with no shelter. At the base, assess the weather conditions. If you feel it is no longer safe to continue, then this is the turnaround point! If you are a customer of our Tongariro alpine shuttles, you must contact us immediately, so we are aware of your plans.
Bonus tip: If it is not windy, the top of the Red Crater is a great spot to have lunch – this is due to the ground being warm due to thermal activity and of course the 360 degree views!

Stage 4: Red Crater to Emerald Lakes
Distance: 0.5km
Time: 15 minutes
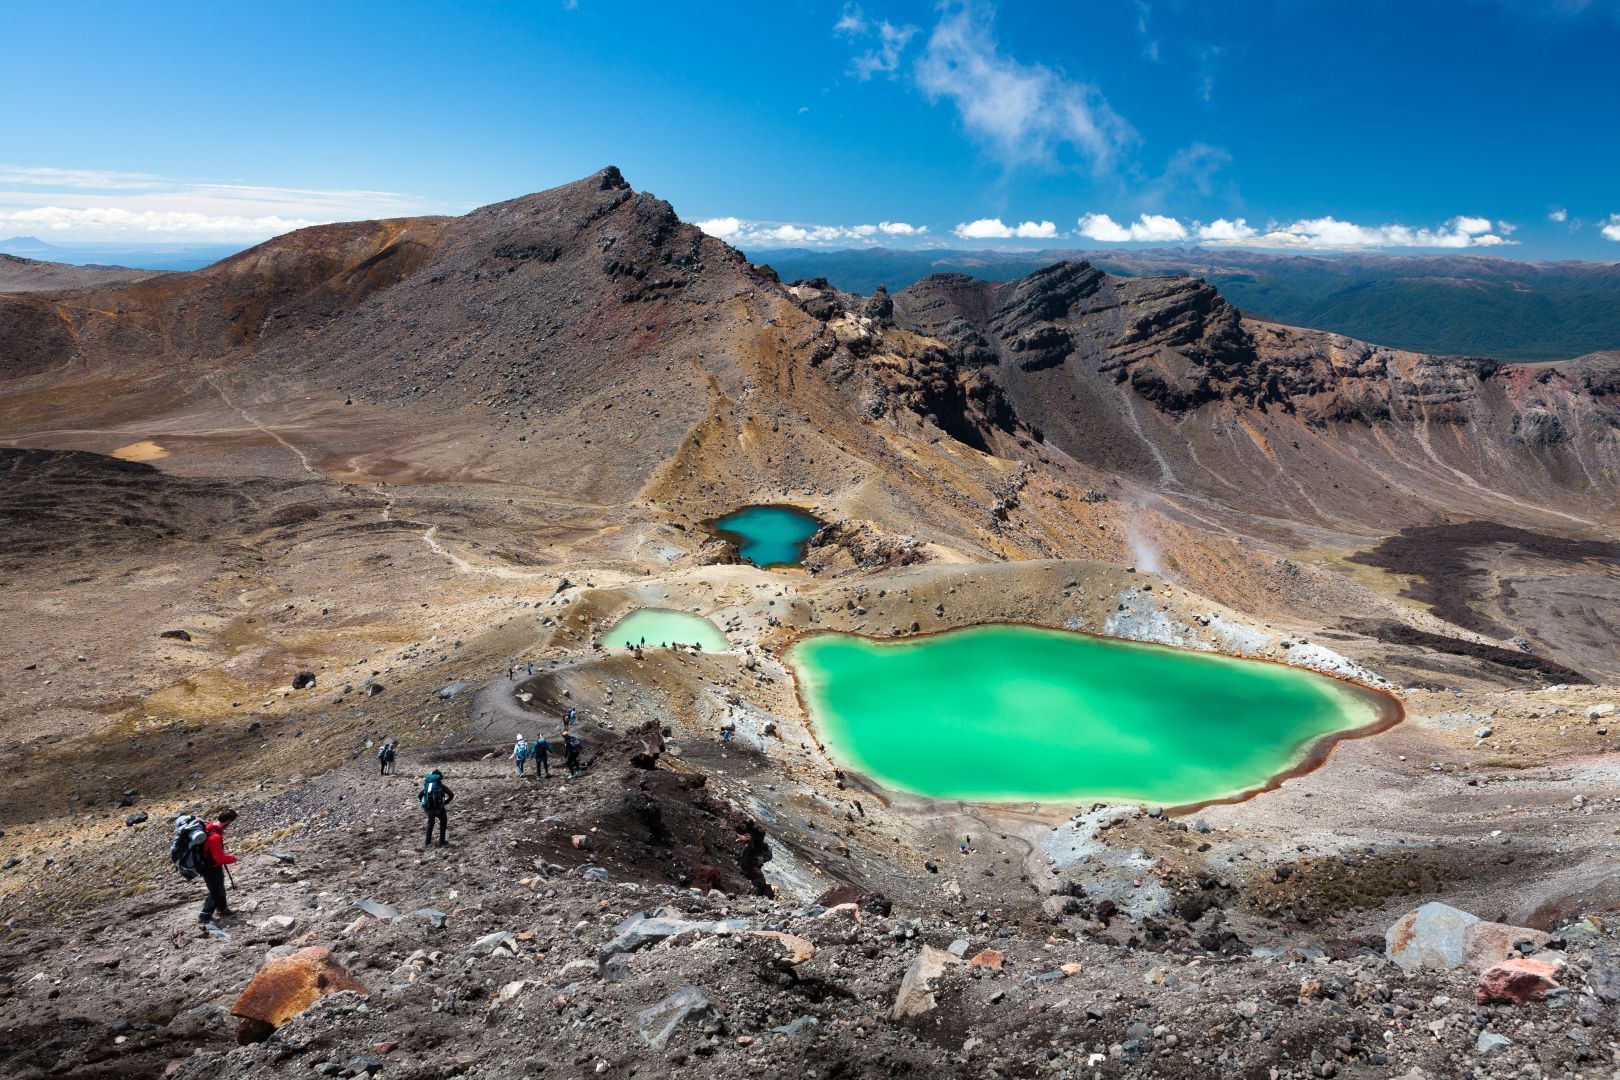
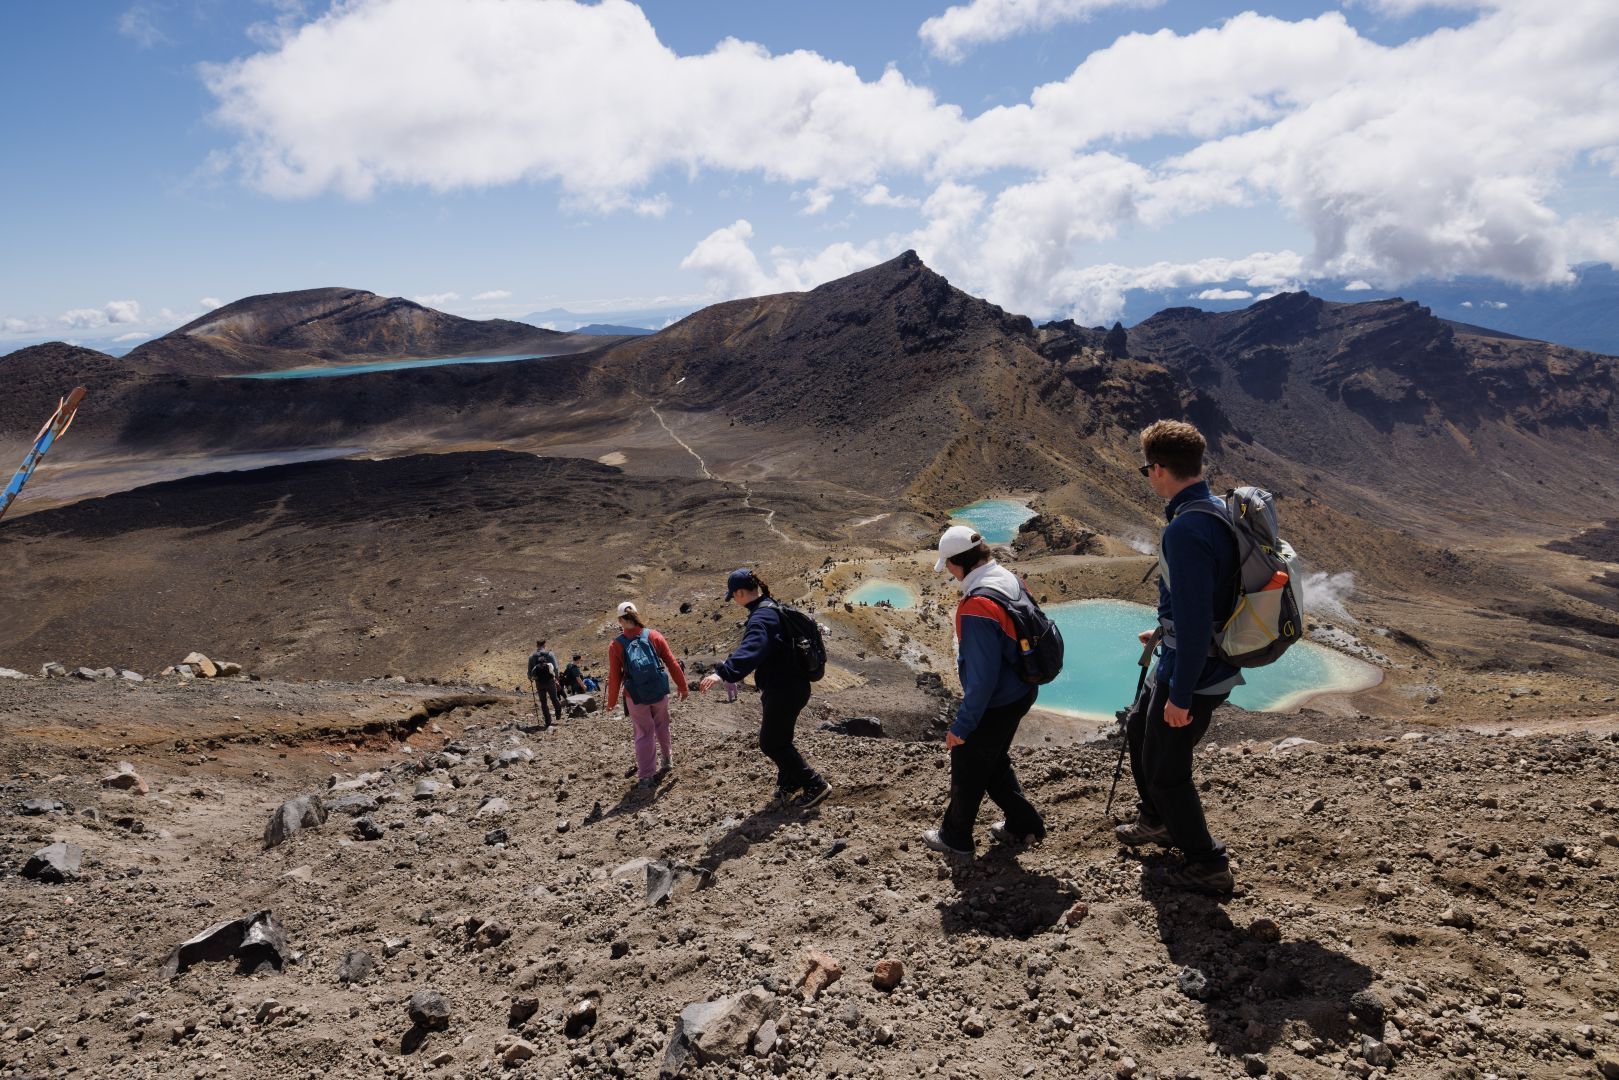
Here you'll arrive at one of the most photographed locations in New Zealand! The steep descent on volcanic rock scree (loose rubble) to the vivid Emerald Lakes can cause this section to be very slippery - pay attention here and watch your footing.
What to expect descending to the Emerald Lakes:
- Loose scree underfoot that can move quickly and easily - it requires a careful, controlled descent.
- A steep drop that's tough on knees and requires careful foot placement.
- Stunning views of the emerald-green lakes getting closer with each step - these lakes are fed by rain and melted snow and coloured by volcanic minerals.
- Active steam vents and the distinctive smell of sulfur - a key sign of the thermal area.
- These areas hold spiritual significance for the local iwi (tribe). Please stay on marked tracks and treat the area with respect – this means no eating or drinking around the lakes due to their sacred nature. The water is cold, acidic, and should not be approached.
Insider tip: Hiking poles are very helpful for this descent. Take small steps, lean back slightly and place your feet carefully - this is not the place to rush!

Stage 5: Emerald Lakes to Blue Lake
Distance: 1.3km
Time: 20 minutes
After taking in the iconic Emerald Lakes, the track follows around Central Crater before climbing to Blue Lake, a cold, freshwater lake that is tapu (sacred).
What to expect between Emerald Lakes and Blue Lake:
- An easy flat walk through Central Crater, then a short sharp incline to the viewpoint of Blue Lake.
- A naturally bright blue lake formed in an old volcanic vent, surrounded by the contrasting volcanic terrain.
- Views back to Red Crater and across to Mount Ngauruhoe.
- Again, the lake is sacred, and it is disrespectful to touch, enter, eat, or drink around its shores
Insider tip: This is your last major highlight before the long descent begins, so take time to appreciate the views and capture some photos.

Stage 6: Blue Lake to the Ketetahi Lookout
Distance: 2.5 km
Time: 1-1.5 hours
From Blue Lake, the track begins the descent toward the Ketetahi Lookout.
What to expect from Blue Lake to Ketetahi Lookout:
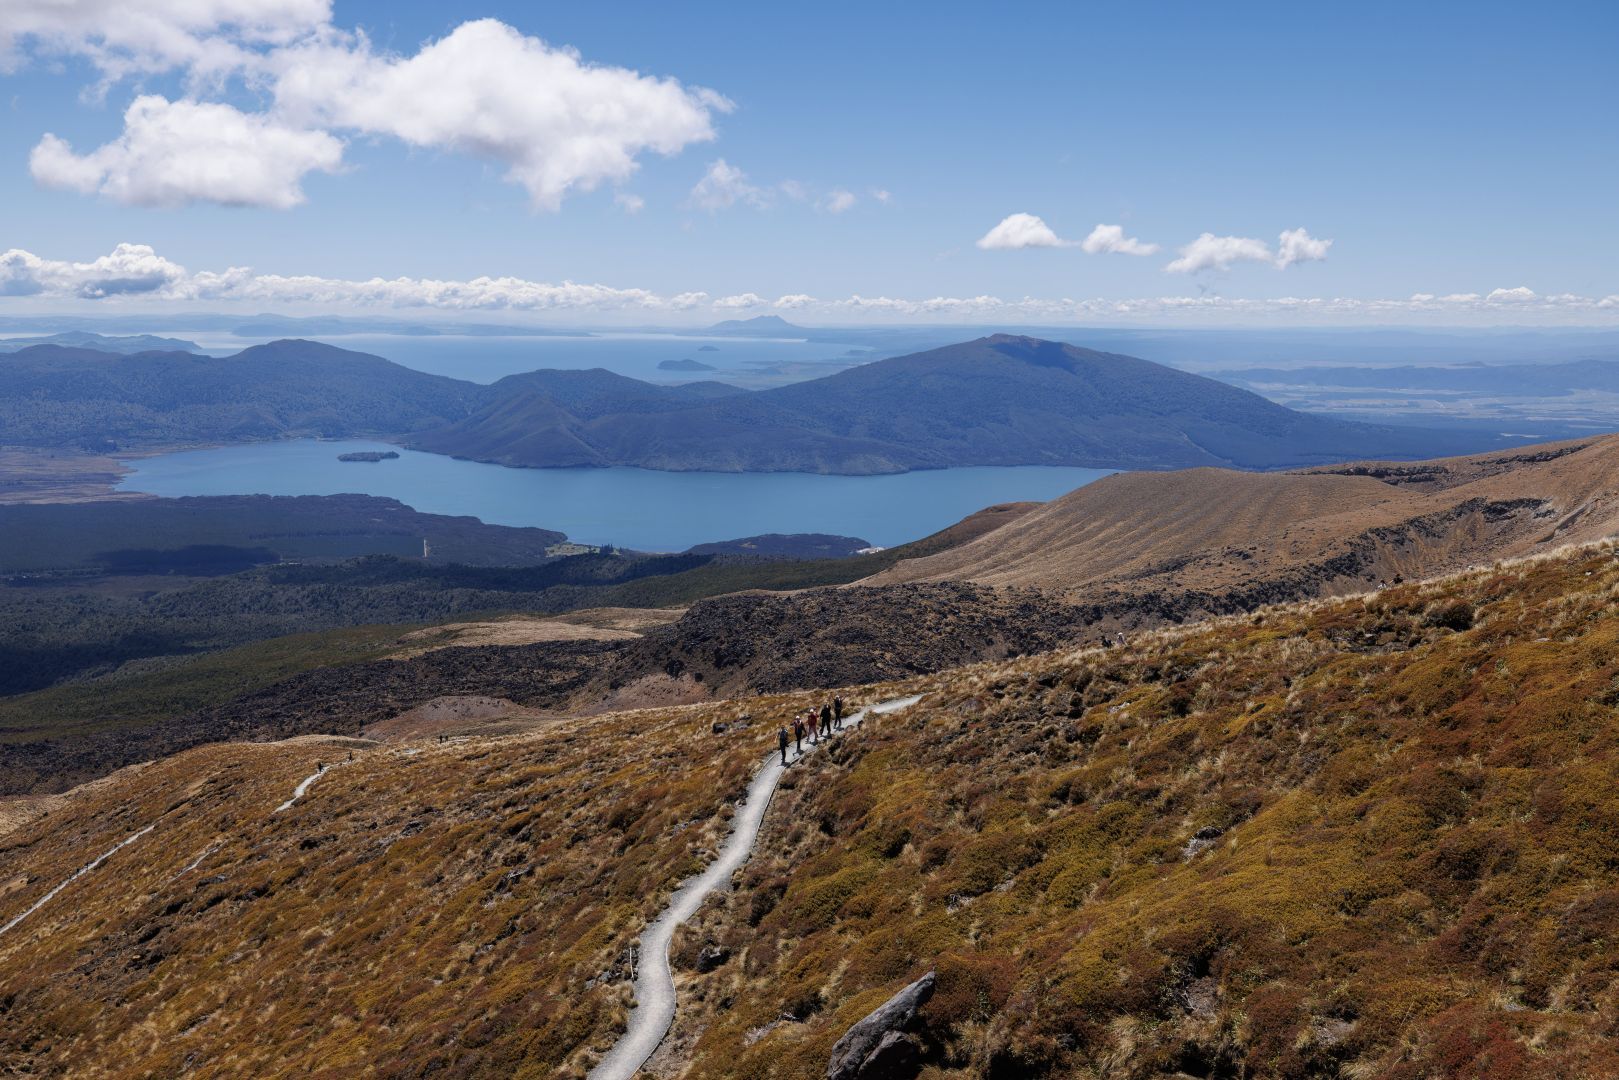
- From the Blue Lake you start your gradual descent down the mountain side with views into the steaming, active Te Maari Crater and expansive, panoramic views.
- Dramatic views out over Mount Pihanga, Lake Rotoaira, and across to Lake Taupō in good weather.
- The former Ketetahi Shelter site with public toilet facilities (the actual shelter was removed after the 2012 volcanic eruption).
Insider tip: This section marks the beginning of your descent off the volcanic plateau. Take in the views while you can, as you'll soon enter the bush where the landscape changes dramatically.

Stage 7: Ketetahi Lookout to Ketetahi Car Park
Distance: 6.5 km
Time: 2 hours
The final stage of the Tongariro Alpine Crossing is a steady descent from the alpine environment, first through tussock and then through native bush down to the Ketetahi Car Park.
What to expect on the descent to Ketetahi Car Park:
- Continued descent through golden tussock slopes with views of distant lakes.
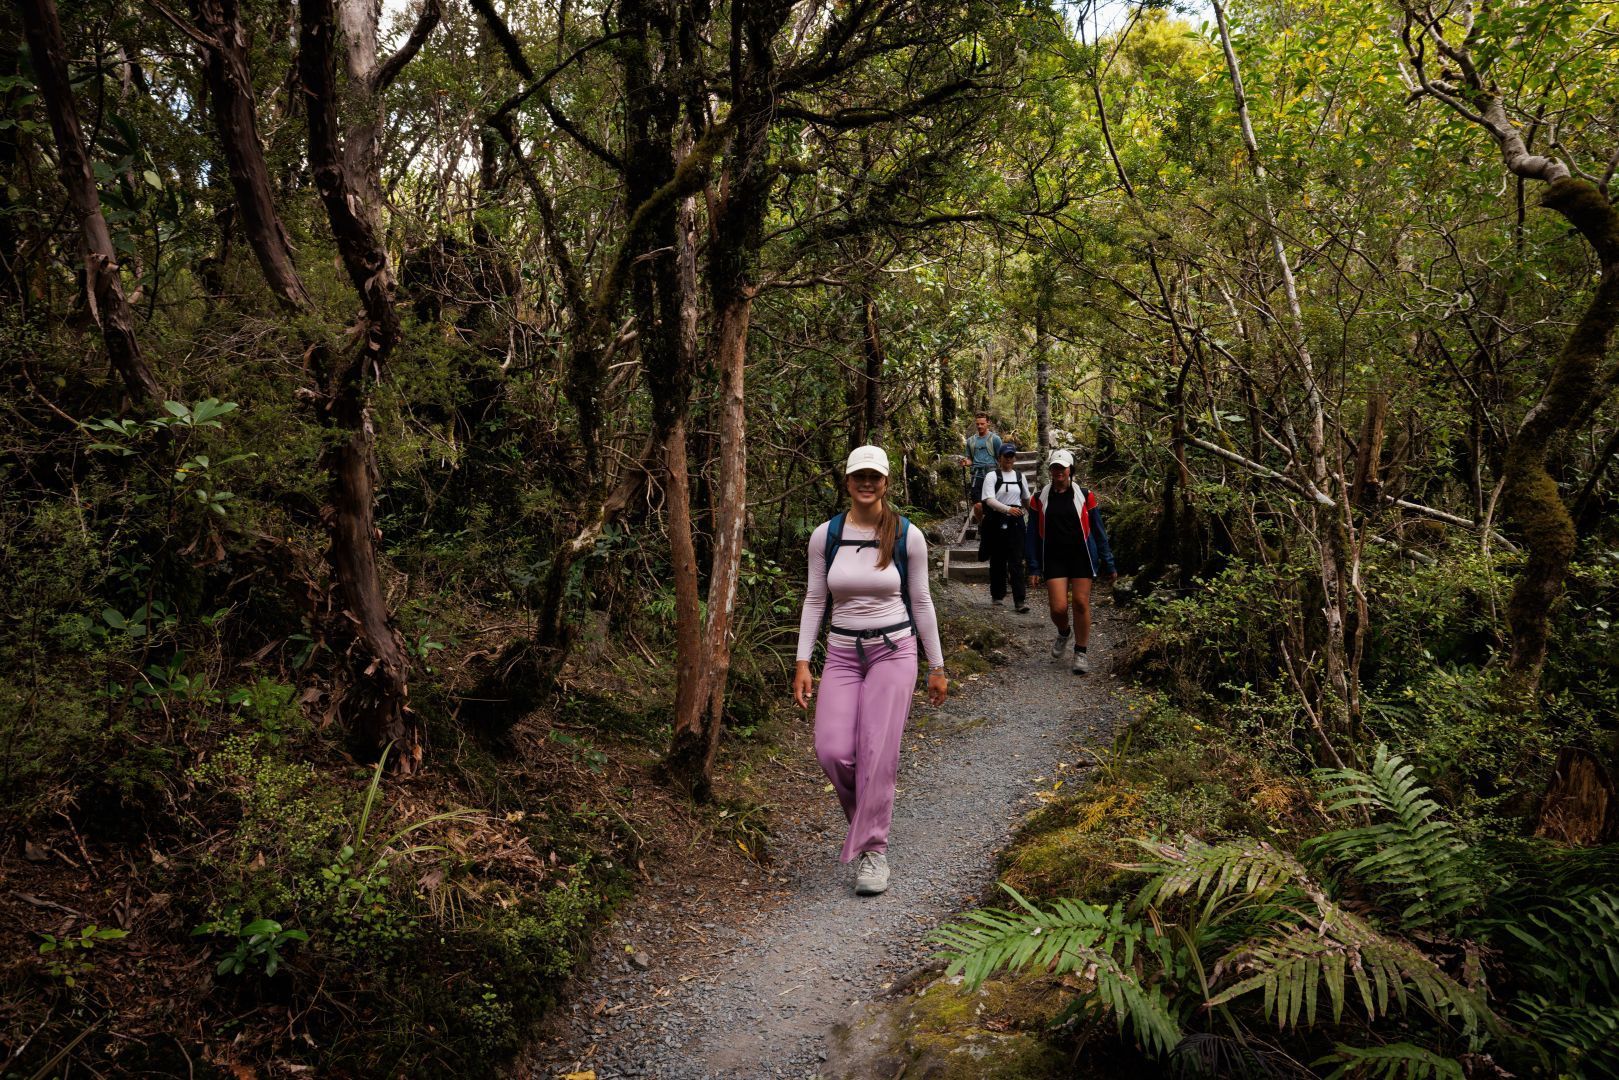
- The track enters the bush line and drops steeply through native forest - quite the contrast to the barren and rocky terrain above.
- Cool native forest provides welcome shade after hours in exposed alpine terrain.
- The final stretch on forest paths to the exit by Ketetahi Car Park.
- And finally.... Relief and satisfaction at completing one of New Zealand's greatest day walks!
Insider tip: This section can feel long, and your legs and feet will be tired after hours of hiking. The descent is hard on knees and toes, so take your time and use poles if you have them - there's no need to rush and risk injury in these final kilometres.

Getting There and Back: Transportation Made Easy
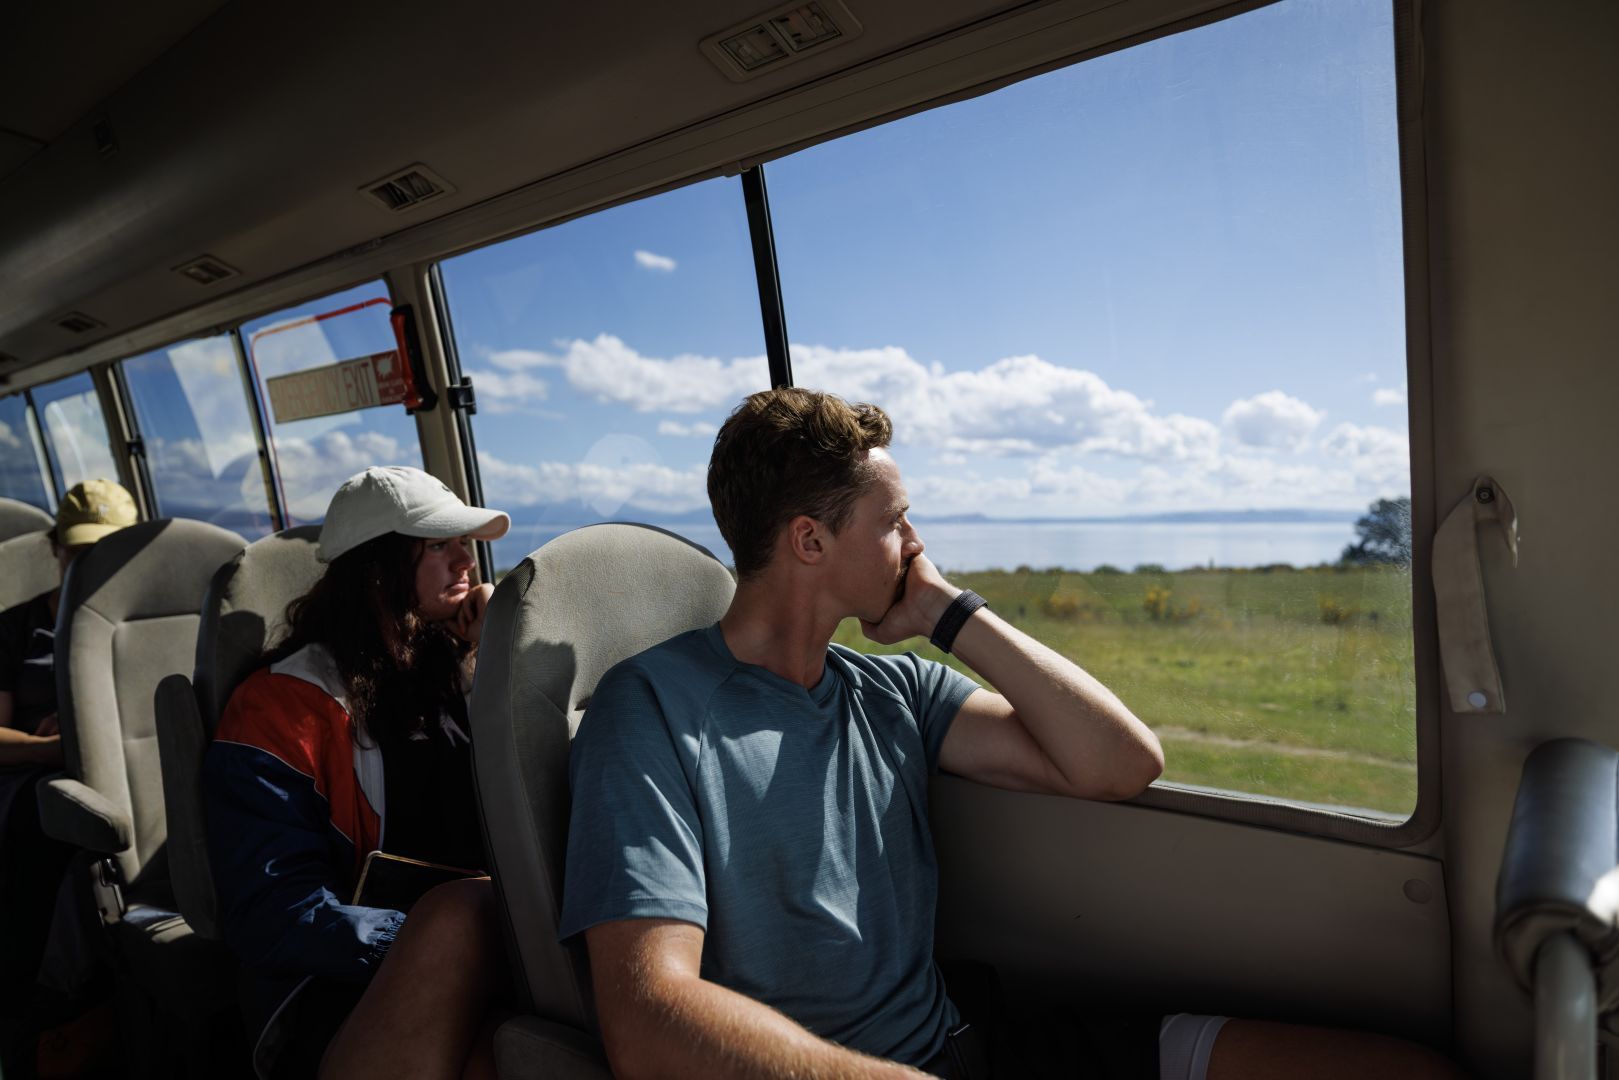
The Tongariro Alpine Crossing track is a one-way journey, which means you'll finish approximately 20km from where you started. This is where our
Tongariro shuttle services can help!
Why do you need a shuttle?
- There are 4-hour parking restrictions at both road ends
- The track takes much longer than 4 hours to complete
- Professional shuttles offer logistic solutions to meet hiking needs
We make transport easy for your Tongariro Alpine Crossing adventure. At Tongariro Expeditions, we offer a variety of shuttle options to suit your plans:
- Return Shuttles: Get picked up directly from Taupō, Tūrangi, or Tongariro Holiday Park, allowing you to relax and enjoy the journey both ways.
- One-Way Shuttles: If you prefer to drive, you can park your vehicle in the designated car parks near the track's end (Ketetahi) and we will shuttle you to the start (Mangatepopo).
To figure out the best transport solution for you, please read our complete Tongariro Crossing Shuttle Guide.

Tackle the Track with Confidence
The Tongariro Alpine Crossing track is an unforgettable hike through one of the world's most interesting volcanic landscapes. From the beauty of Mangatepopo Valley to the unbelievable Emerald Lakes, every section offers something unique, keeping you on your toes!
Ready to experience New Zealand's greatest day walk?
Start planning your Tongariro Alpine Crossing adventure today, and let Tongariro Expeditions take care of your transportation needs so you can focus on enjoying this world-class track. Book today!
Recent Posts